I have a pretty cool house. A lot of it is fun, it’s laid out well, has some great features, and my guy and I have added our own touch to it. We love it. However, one thing that has bothered us here is that the lighting in a few rooms is either very weirdly placed, or completely non-existent. Now, I can’t handle a ton of overhead light anyway, so for the most part, using lamps has been great. However, for this particular area of the house, a standing lamp isn’t really much of an option, and I wanted hanging lamp.
I’m sure we have all seen those concept cloud lamps on pinterest and the like, but I have yet to see an actual DiY for it, so here you go. I’ve been wanting to do this for weeks, but couldn’t quite visualize the base I wanted for this in my head. Until I saw this:
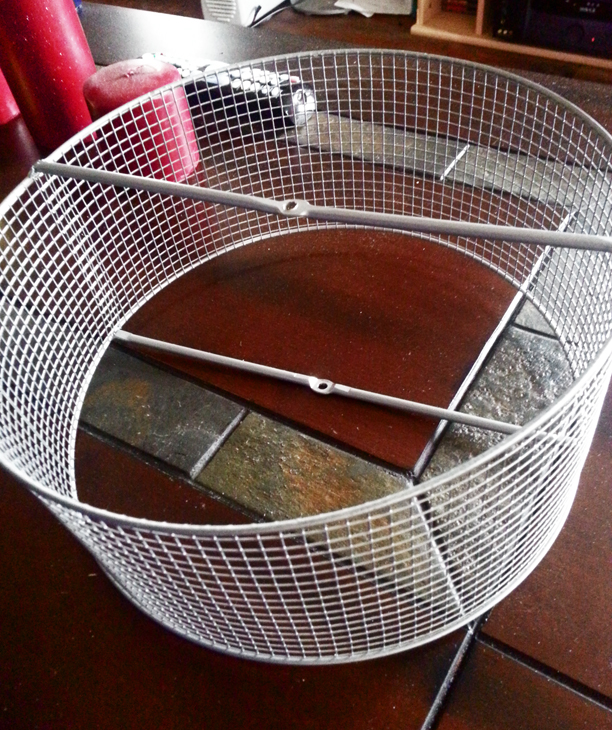
As some of you may know, we have a couple pet rats (they make absolutely wonderful pets), and this is the running wheel that came with their cage. If you have small pets with long tails, do not give them wheels like this. Their tails can get caught in them, and they can get injured. So naturally, we took this wheel out of the cage when we got it, and I re-found the wheel in a cabinet a month or so later. This is a pretty perfect base for the cloud lamp. It’s wide enough, and allows for enough room between a bulb and the edges. You can also free-form some chicken wire for this, or use an old lamp shade or globe (though, be sure to find one for a hanging lamp).
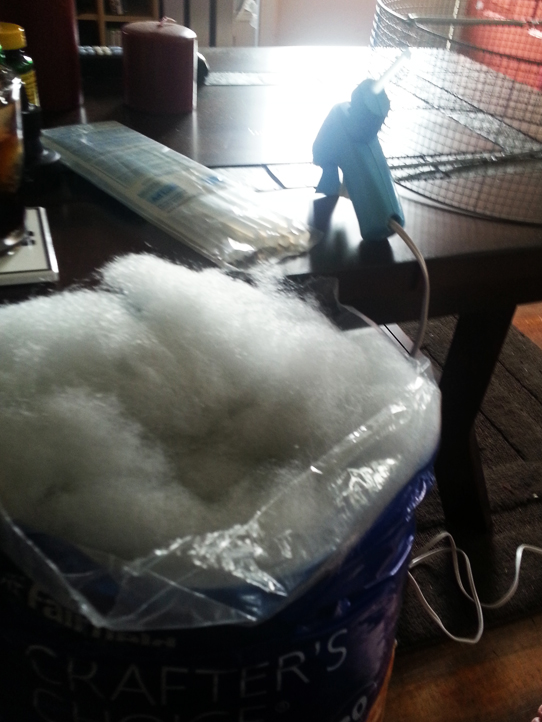
Next, I lined up supplies: Crafter’s Choice Polyfill, a hot glue gun, and plenty of extra glue sticks.
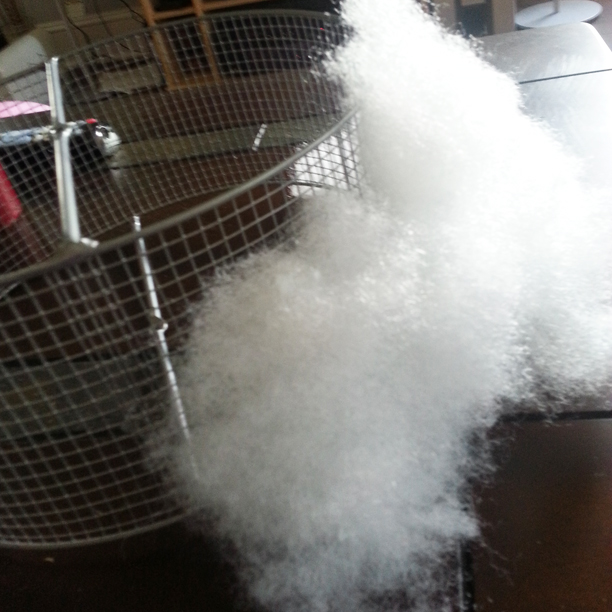
 Making the cloud layer is actually extremely simple. You glue some stripes of hot glue across your surface, and stick the polyfill to the glue. I used a low-temp glue gun, but in retrospect, I wish I had used a high-temp one because it cools down very, very quickly. The trick here is simply to go little by little, making sure you cover every centimeter of your base surface, and be sure your polyfill is fully adhered to the base. You can go back and fix any mistakes later, though, so it is a very forgiving project. Here are a couple of in-progress pictures of the gluing process:
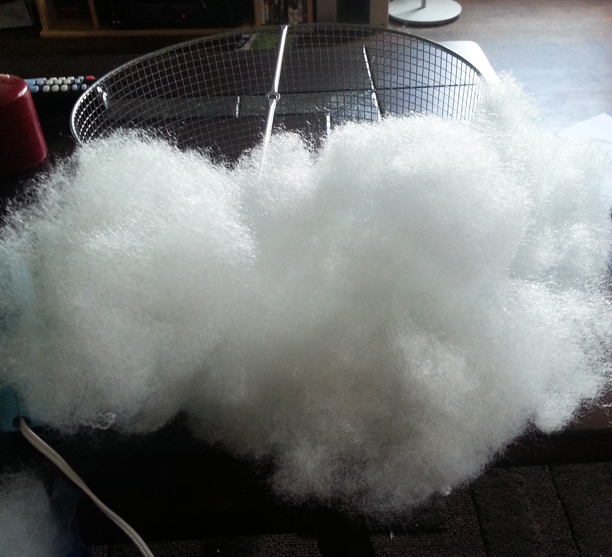 Keep in mind that clouds come in all shapes and sizes, so you don’t need to aim for perfection with this unless you just really want to. Make sure you have plenty of room to work in, though, because polyfill specks do get EVERYWHERE. I would also suggest hanging the frame up for a day or so before finishing off the lamp part to make sure you can identify any loose pieces that need to be glued back down. If it’s at all necessary, you can even use some fishing line or white thread and a needle to tack large pieces onto your frame.
Now that I had all the sides covered, it was time to attach the lamp fixture. Finding the right fixture for a decent price was a little bit of a challenge, but I found this click-switch overhanging lamp cord for $6. Since the height of my ring is a little shallow, I bent out the bars on either side, tied the lamp cord to the upper bar, and wrapped a little crafting wire around it to keep it in place.
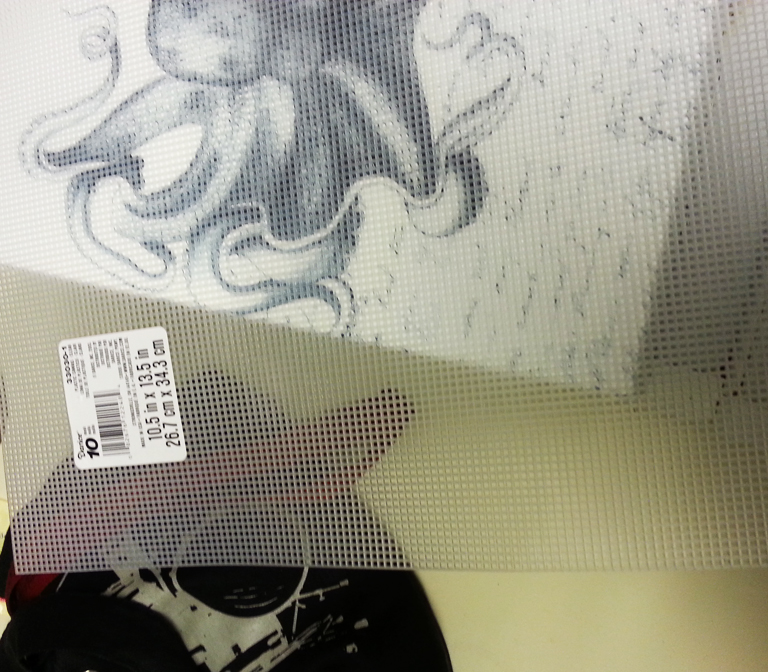
However, since my metal ring is shallow, the bottom did not look great. And since this is going in a room next to stairs that go down to the bottom floor of our house, you can see the bottom very clearly. I wanted to cover this, so I just ran to the craft store and got a piece of plastic mesh for the bottom for all of a dollar:
 For attaching this, all I needed was a needle and some thread.
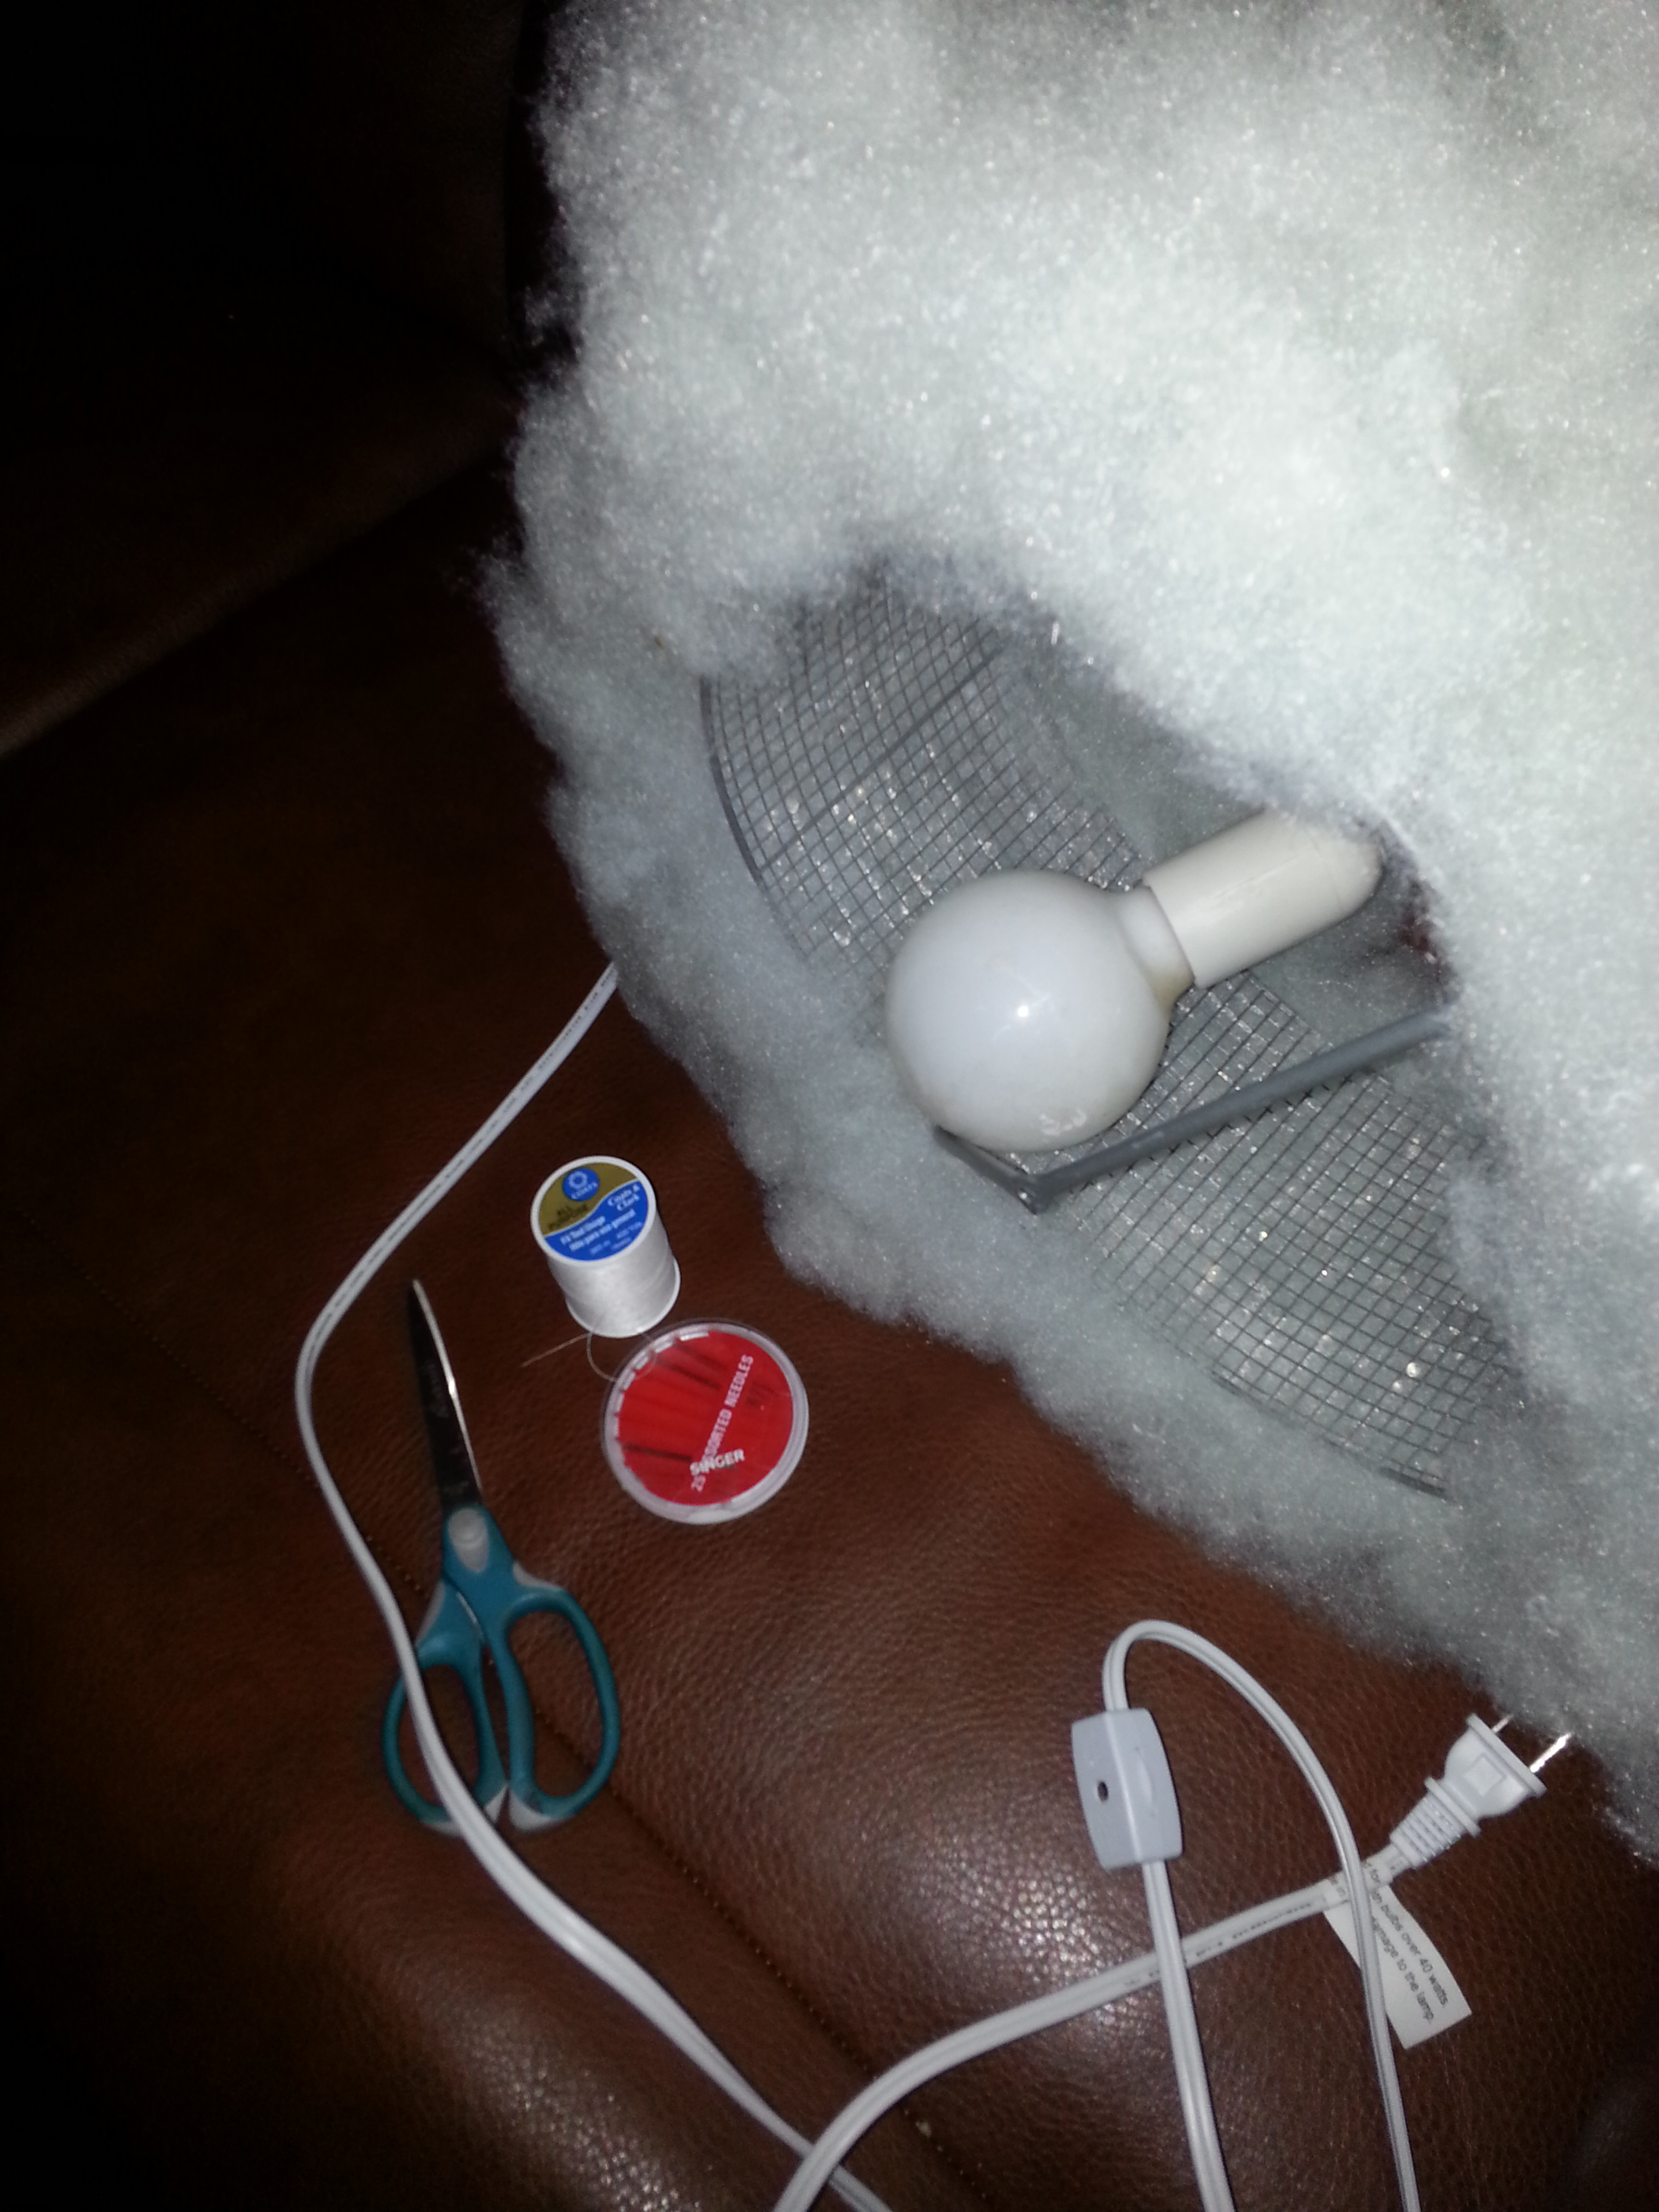 I didn’t take photos of the process, but all I did was cut the mesh to the size of the bottom, and loosely sew the edges of the mesh to the wire frame. Since I covered it up with polyfill, I didn’t even bother being careful with it or making the sewing part pretty.
Afterwards, I put four hooks evenly spaced around the top of the lamp, and tied some twine (that I actually put tiny silver star charms on) from those hooks to a centered, singular hook, and hung it from a little hook that happened to already be in the ceiling. I also strung the lamp cord across the ceiling to an outlet, of course. And that was it! Here’s the finished product.
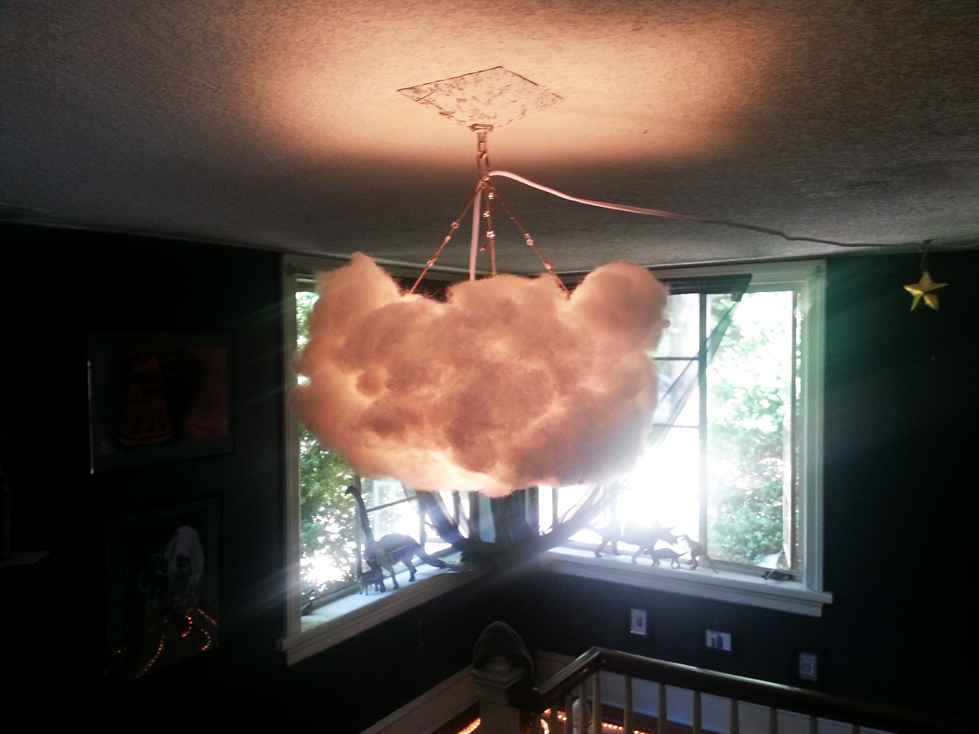
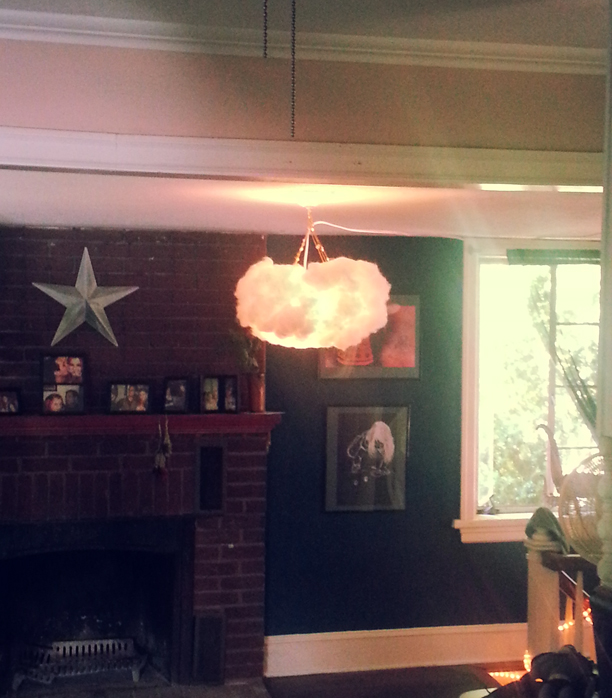
And here it is in a darkened room –
 Finally, just the clear any misunderstandings – nothing about this is a fire hazard. The polyfill (like pretty much anything that can be used for bedding, and under most laws) is fire-resistant. Not only that, I made sure to leave plenty of space around the bulb just in case, and the bulb is only 25 watts.
Now that this project is completed, my crocheting boyfriend is going to make a large, 5-point crocheted star rug to go under it in that room, which will go nicely with the little gold stars I have hanging around there, too. All in, this project ended up only costing me about $10 since I already had everything but the plastic mesh, silver star charms, and hanging light cord laying around in my craft room being unused. Not too shabby.
